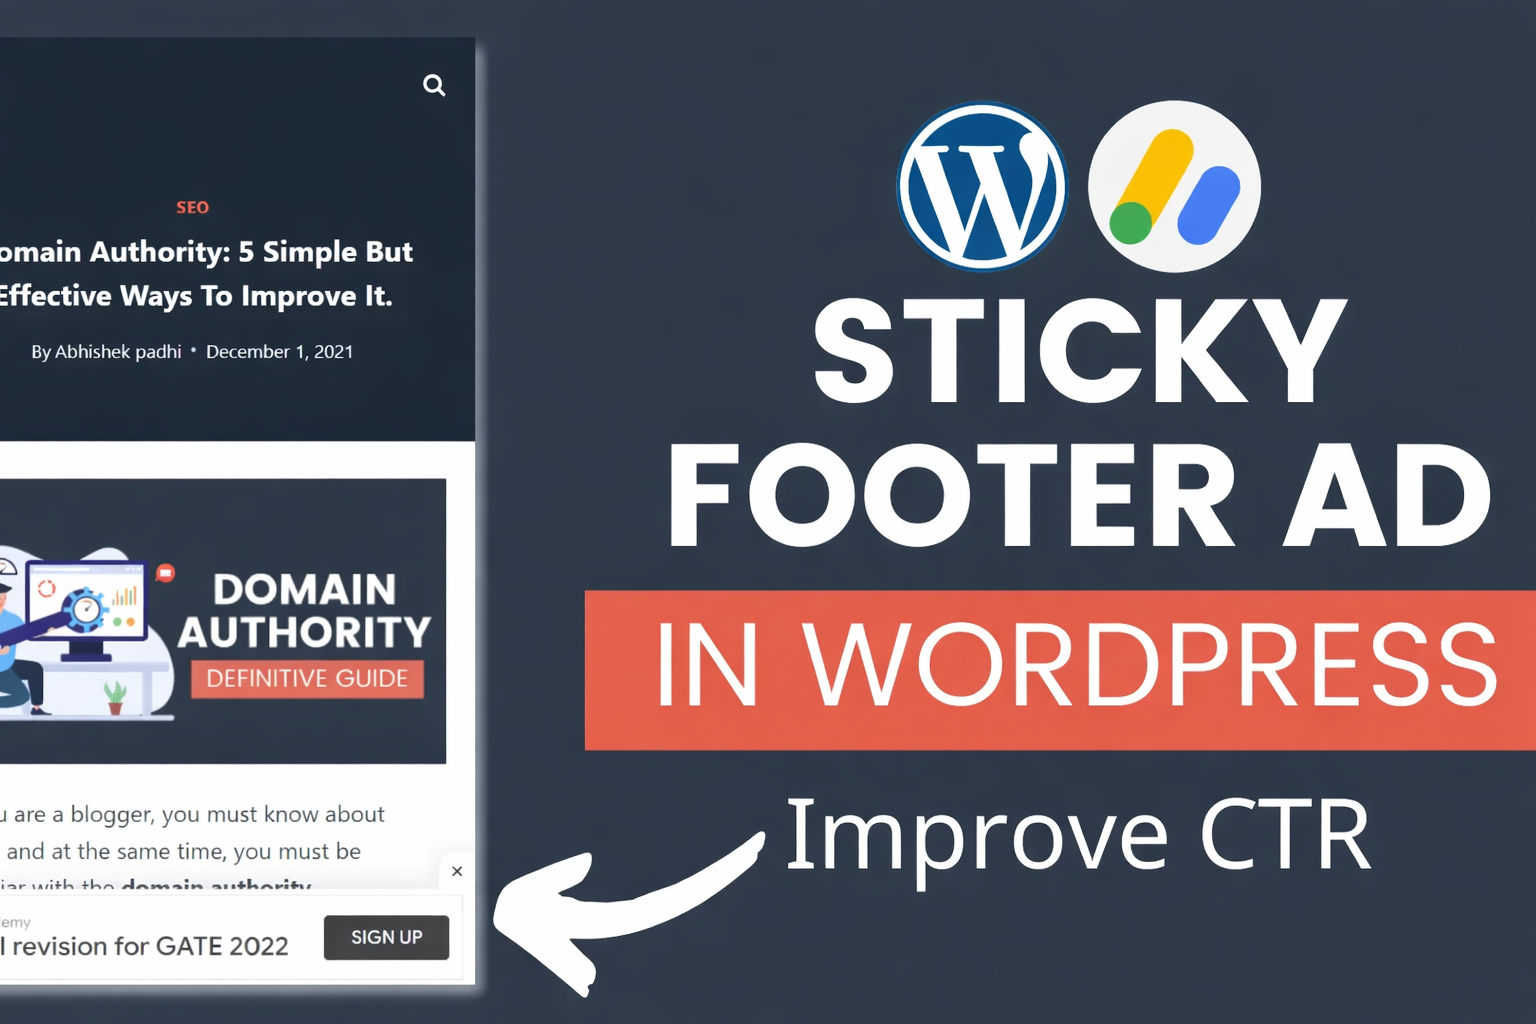
How to Add a Sticky Footer Ad in WordPress to Boost Your AdSense Revenue
Want more clicks on your ads without being intrusive? A sticky footer ad stays visible as users scroll — making it one of the highest-performing ad placements you can add to your WordPress site today. Here’s exactly how to set it up from scratch.
What Is a Sticky Footer Ad?
A sticky footer ad is an advertisement that remains fixed at the bottom of a user’s screen while they scroll through your content. Unlike standard banner ads that disappear as soon as a visitor scrolls past them, a sticky footer ad stays in view the entire time — giving it a much higher chance of being noticed and clicked.
These are also commonly referred to as floating ads or bottom sticky ads. You’ve likely seen them on major news websites and content publishers — they sit neatly at the bottom of the screen with a small close button so users can dismiss them if they choose.
Why Sticky Ads Perform Better
Standard ad placements suffer from something known as banner blindness — users subconsciously ignore ads that sit in predictable positions. Sticky ads break this pattern because they remain present throughout the browsing session.
Here’s what improves when you implement a sticky footer ad correctly:
| Metric | Standard Ad | Sticky Footer Ad |
|---|---|---|
| Visibility Rate | Low — scrolled past quickly | High — stays on screen |
| Click-Through Rate (CTR) | Average | Significantly higher |
| Ad Impressions | One per page view | Continuous while on page |
| User Experience Impact | Neutral | Minimal with close button |
AdSense Guidelines You Must Follow
Before adding any sticky ad to your WordPress site, make sure you’re following Google AdSense’s policies. Violating these rules can result in your account being penalized or suspended.
| Rule | Status |
|---|---|
| Ads must take up less screen space than your page content | Required |
| Sticky ad must not overlap or underlap other page content | Required |
| Ad must be clearly separated from your content | Required |
| Horizontal sticky ads must stay fixed at window edges | Required |
| Ads must never follow the cursor | Prohibited |
| Sticky footer must not cover more than 30% of any screen | Required |
| No clickable elements placed directly above the sticky ad | Required |
Step-by-Step: Adding the Sticky Footer Ad
Create a Display Ad Unit in AdSense
Log in to your Google AdSense account. Navigate to Ads → By ad unit → Display ads. Create a new responsive display ad unit. Once saved, copy your Publisher ID (format: ca-pub-XXXXXXXXXXXXXXXX) and your Ad Slot ID.
Customize the Code with Your IDs
Take the complete code block below and replace ca-pub-xxxxxxxxxxxxx with your Publisher ID and xxxxxxxxx with your Ad Slot ID. Do not change any other part of the code unless you know what you’re doing.
Paste the Code in Your WordPress Footer
In your WordPress admin, go to Appearance → Theme File Editor → footer.php. Locate the closing </body> tag near the bottom of the file and paste the full code block directly above it. Click Update File to save.
Test in Incognito Mode
Open one of your published posts in a private/incognito browser window. This ensures the page loads without any cached data and with ads properly displayed. If you see the sticky bar at the bottom, the setup is complete.
The Complete Sticky Footer Ad Code
Copy the full code below. Replace the placeholder values with your actual AdSense Publisher ID and Ad Slot ID before pasting it into your site.
<!-- Sticky Footer Ad — vicentgo.com -->
<div class="sticky-ads" id="sticky-ads">

  <!-- Close Button -->
  <div class="sticky-ads-close"
    onclick="document.getElementById('sticky-ads').style.display='none'">
    <svg viewBox="0 0 512 512" xmlns="http://www.w3.org/2000/svg">
      <path d="M278.6 256l68.2-68.2c6.2-6.2 6.2-16.4 0-22.6
        -6.2-6.2-16.4-6.2-22.6 0L256 233.4l-68.2-68.2
        c-6.2-6.2-16.4-6.2-22.6 0-3.1 3.1-4.7 7.2-4.7 11.3
        0 4.1 1.6 8.2 4.7 11.3l68.2 68.2-68.2 68.2
        c-3.1 3.1-4.7 7.2-4.7 11.3 0 4.1 1.6 8.2 4.7 11.3
        6.2 6.2 16.4 6.2 22.6 0l68.2-68.2 68.2 68.2
        c6.2 6.2 16.4 6.2 22.6 0 6.2-6.2 6.2-16.4 0-22.6
        L278.6 256z"/>
    </svg>
  </div>

  <!-- Ad Content -->
  <div class="sticky-ads-content">
    <ins class="adsbygoogle"
         style="display:inline-block;height:70px;width:100%;line-height:70px;"
         data-ad-client="ca-pub-xxxxxxxxxxxxx"
         data-ad-slot="xxxxxxxxx"></ins>
    <script>
      (adsbygoogle = window.adsbygoogle || []).push({});
    </script>
  </div>

</div>

<style>
  .sticky-ads {
    position: fixed;
    bottom: 0;
    left: 0;
    width: 100%;
    min-height: 70px;
    max-height: 200px;
    padding: 5px 0;
    box-shadow: 0 -6px 18px 0 rgba(9, 32, 76, 0.1);
    transition: all 0.1s ease-in;
    display: flex;
    align-items: center;
    justify-content: center;
    background-color: #fefefe;
    z-index: 9999;
  }

  .sticky-ads-close {
    width: 30px;
    height: 30px;
    display: flex;
    align-items: center;
    justify-content: center;
    border-radius: 12px 0 0 0;
    position: absolute;
    right: 0;
    top: -30px;
    background-color: #fefefe;
    box-shadow: 0 -6px 18px 0 rgba(9, 32, 76, 0.08);
    cursor: pointer;
  }

  .sticky-ads-close svg {
    width: 22px;
    height: 22px;
    fill: #333;
  }

  .sticky-ads-content {
    overflow: hidden;
    display: block;
    position: relative;
    height: 70px;
    width: 100%;
    margin: 0 10px;
  }
</style>
Troubleshooting Common Issues
The Sticky Ad Doesn’t Appear at All
This is almost always caused by a caching plugin (such as WP Rocket, LiteSpeed Cache, or W3 Total Cache). These plugins sometimes strip out inline scripts or block custom code from loading. Try the following:
Temporarily deactivate your caching plugin, clear all cached files, then open a published post in incognito mode. If the ad appears, you’ll need to add an exception for your AdSense script in your cache plugin’s settings.
The Ad Bar Shows But the Ad Is Blank
A blank ad slot means the AdSense network had no ad to serve at that moment — this is called a low fill rate. It doesn’t mean your code is broken. Try opening a high-traffic post and refreshing a few times. Ad fill rates naturally vary by country, time of day, and niche. This will resolve itself as your site receives more traffic.
The Code Works in Theme Editor But Not on the Site
If your theme uses a child theme, make sure you’re editing the child theme’s footer.php, not the parent. Edits to parent theme files get overwritten on updates. Also double-check that your AdSense account is active and that the ad unit is fully approved.
How to Hide the Sticky Footer Ad on Your Homepage
Many site owners prefer to show the sticky ad only on blog posts and article pages, not on the homepage or landing pages. This is easy to control using a code manager plugin.
Install a free code snippet manager plugin from the WordPress plugin directory. Once active, create a new snippet, paste your sticky footer ad code, and set the display location to Post pages only. Set the position to Footer and save. The ad will now only load on individual blog posts and will be completely hidden on your homepage and other pages.
Frequently Asked Questions
Start Earning More From Every Page View
A sticky footer ad is one of the simplest and most effective changes you can make to increase your AdSense revenue. With just a few lines of code and five minutes of setup, your ads will stay visible — and working — the entire time your visitors are on your site.